


Hidden Hotspots
Everything You Need to Know About Hidden Hotspots
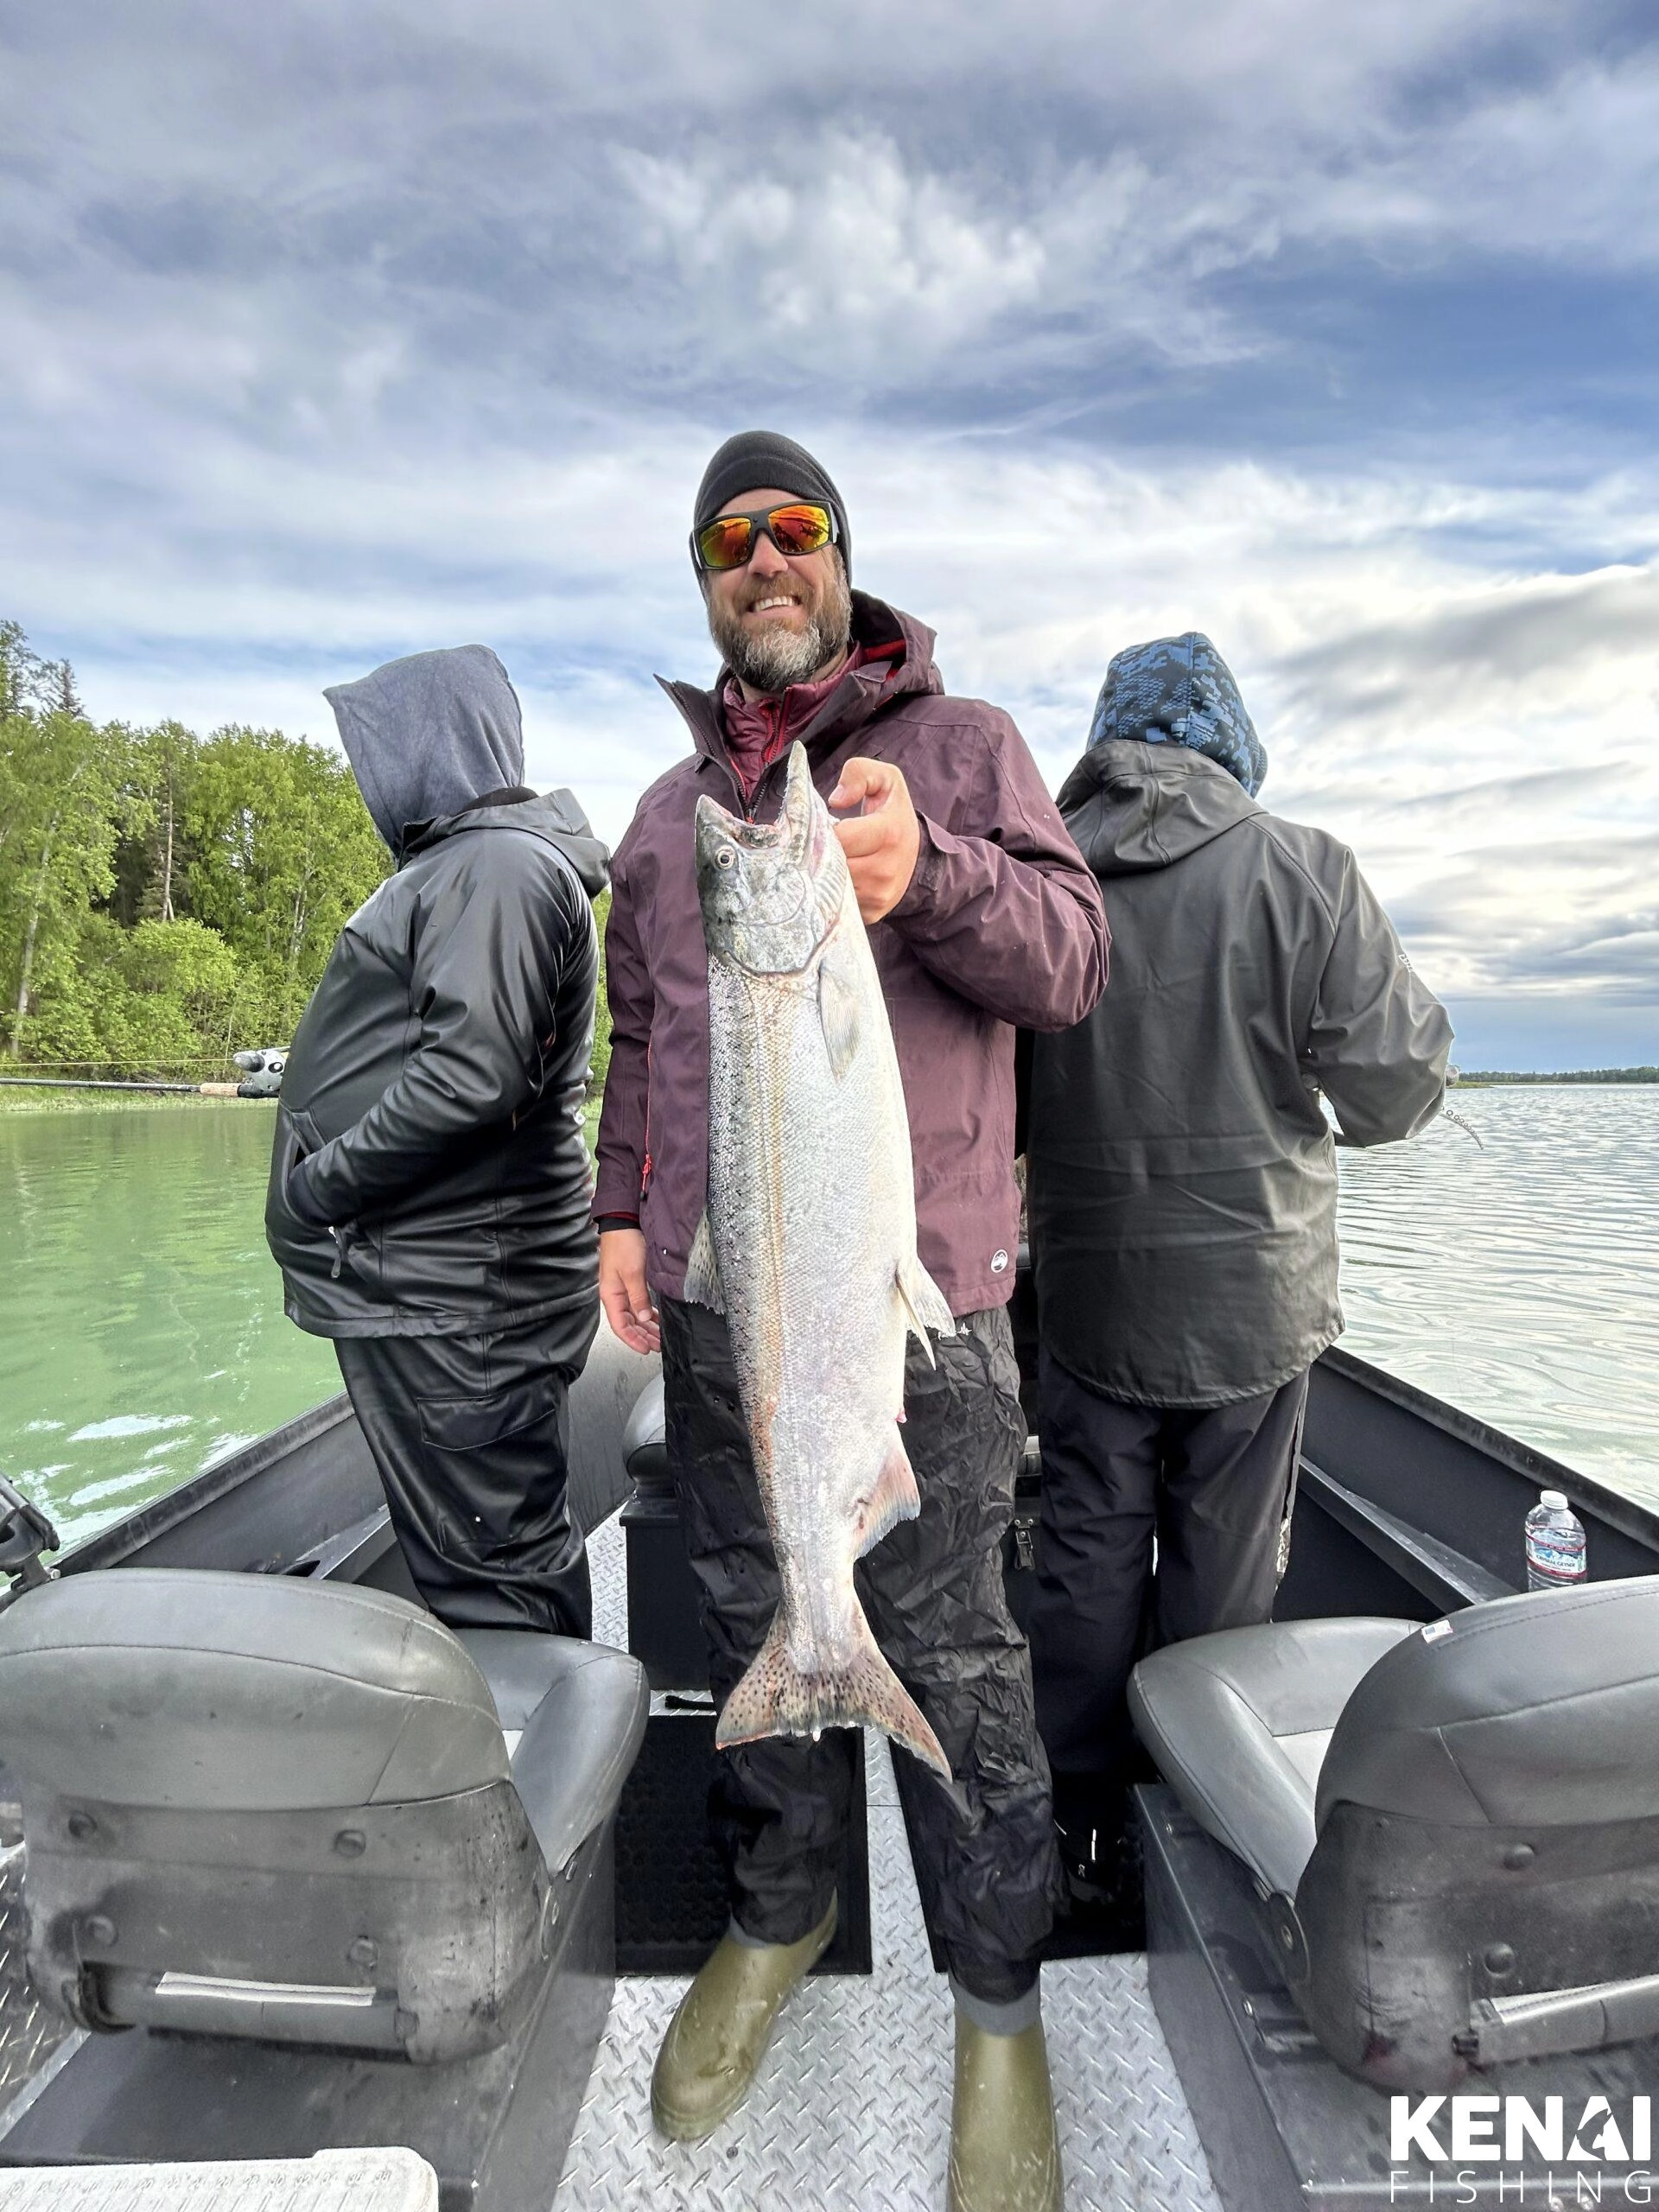
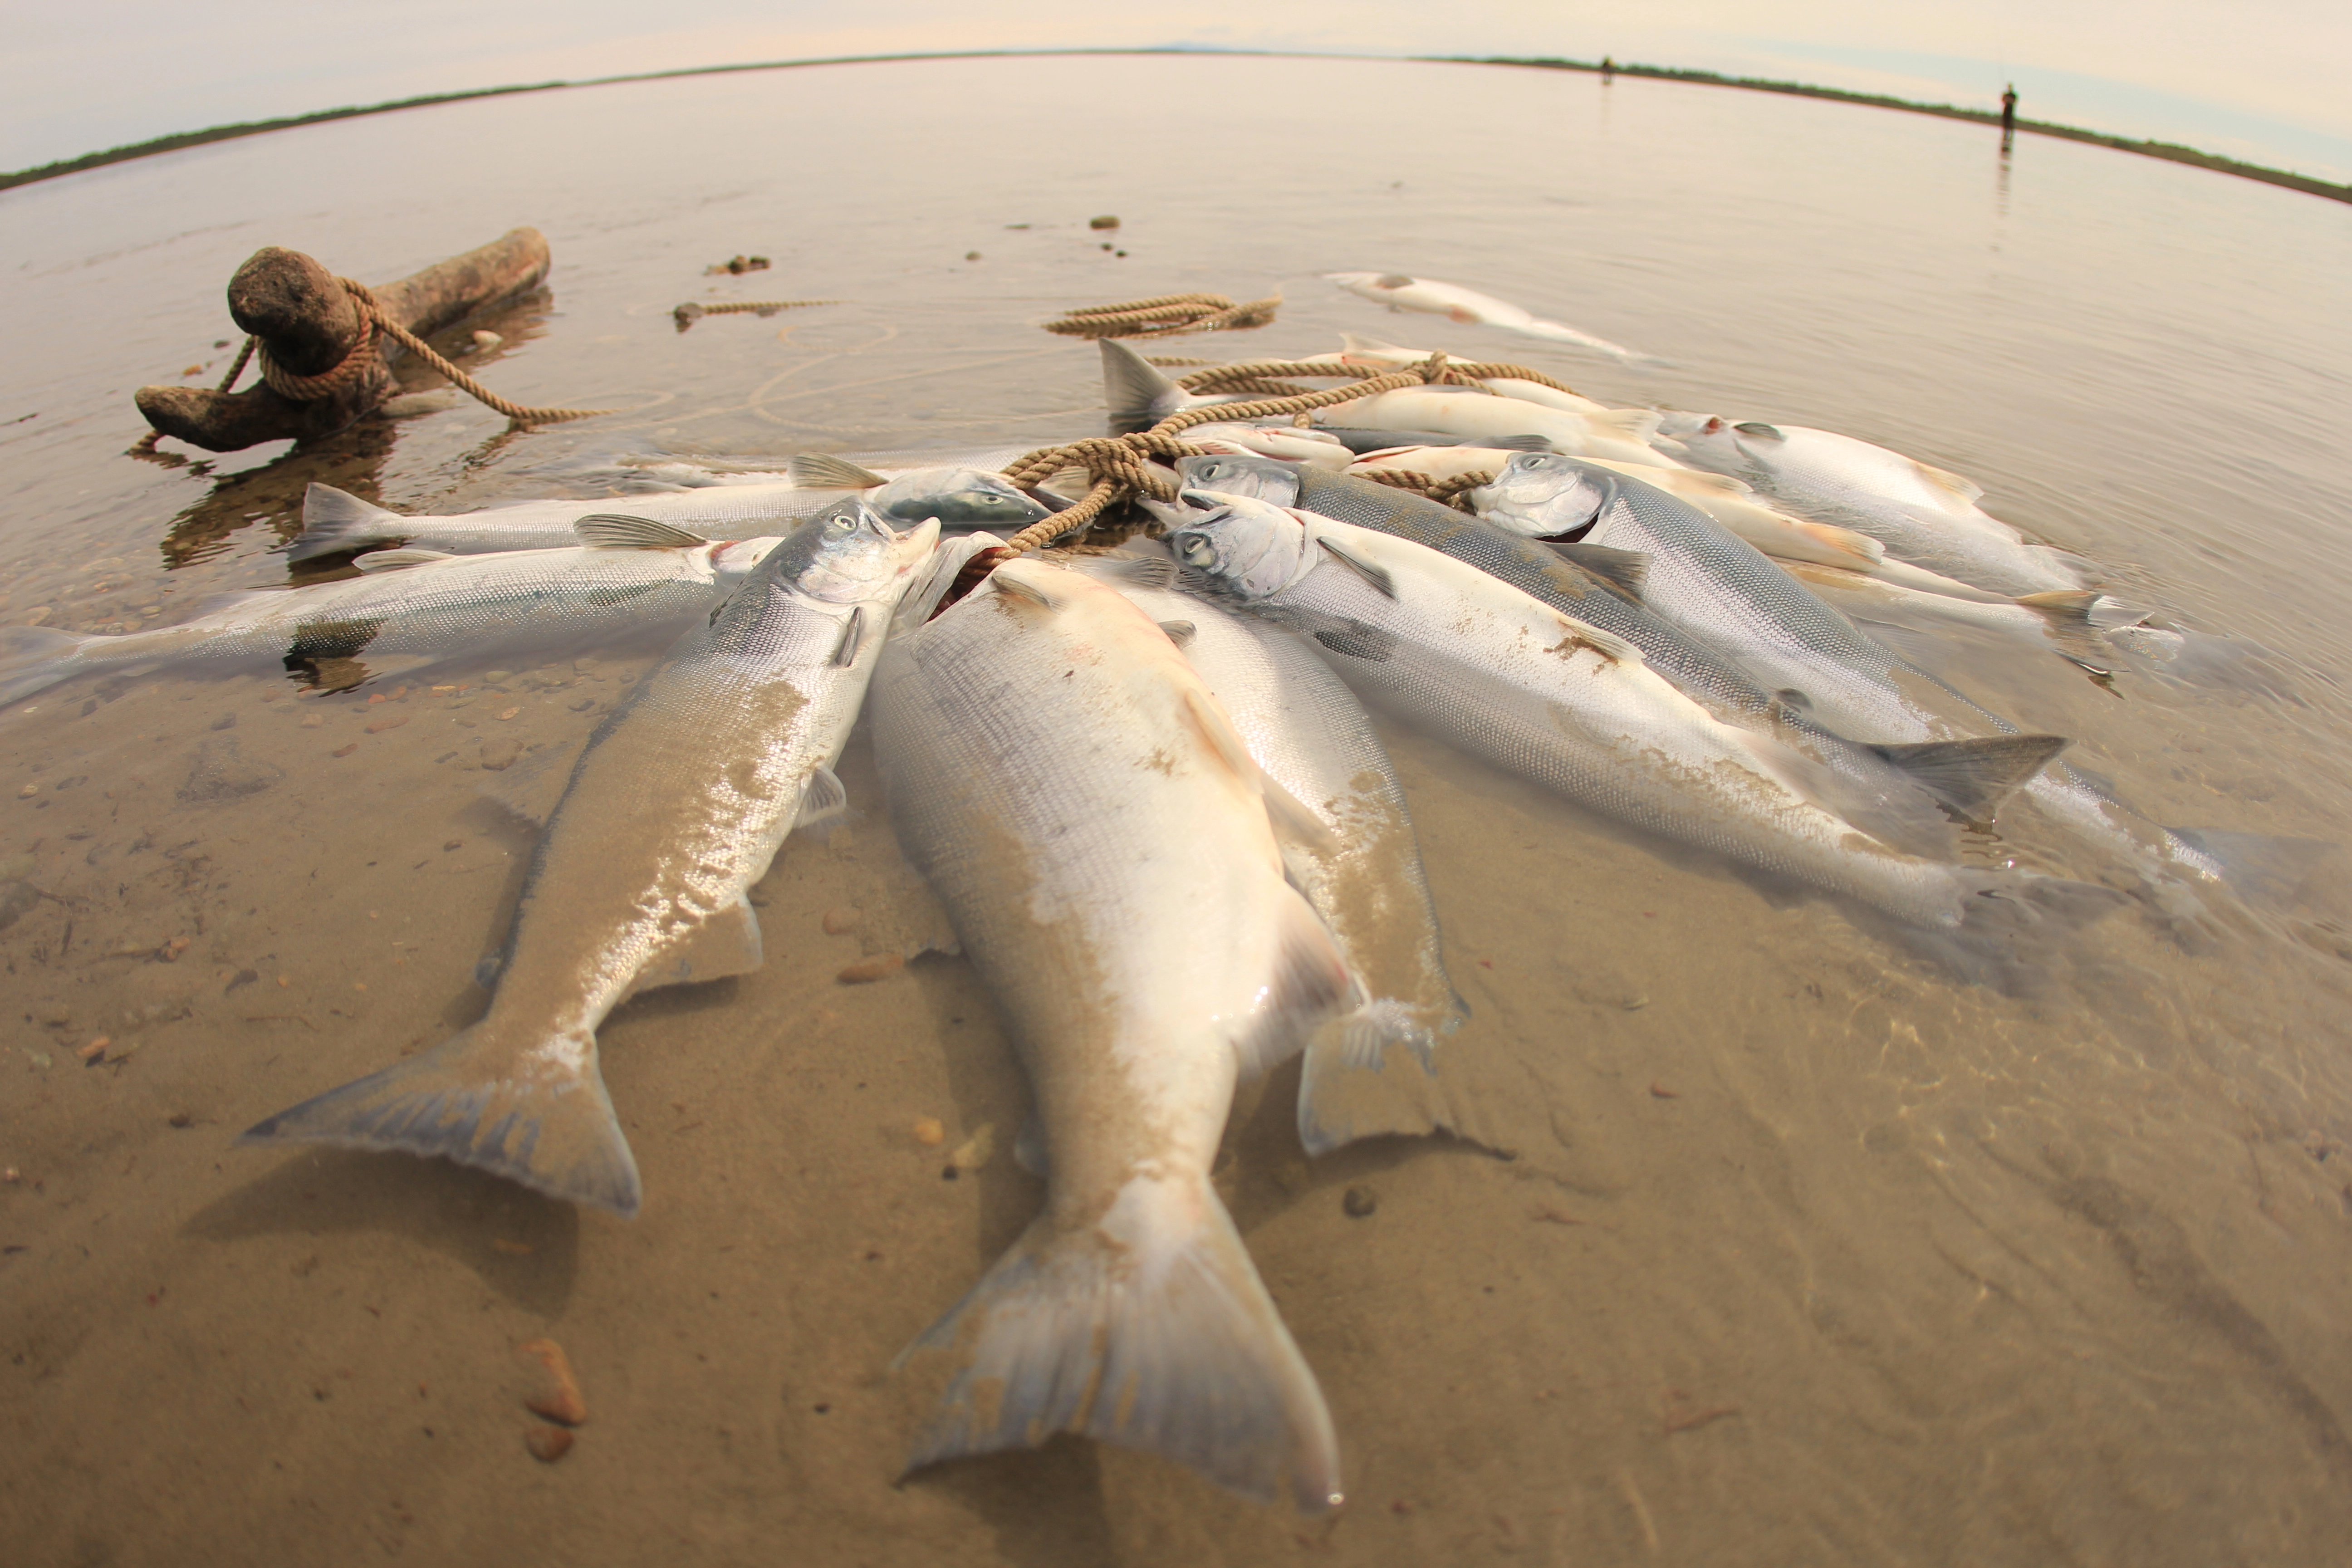
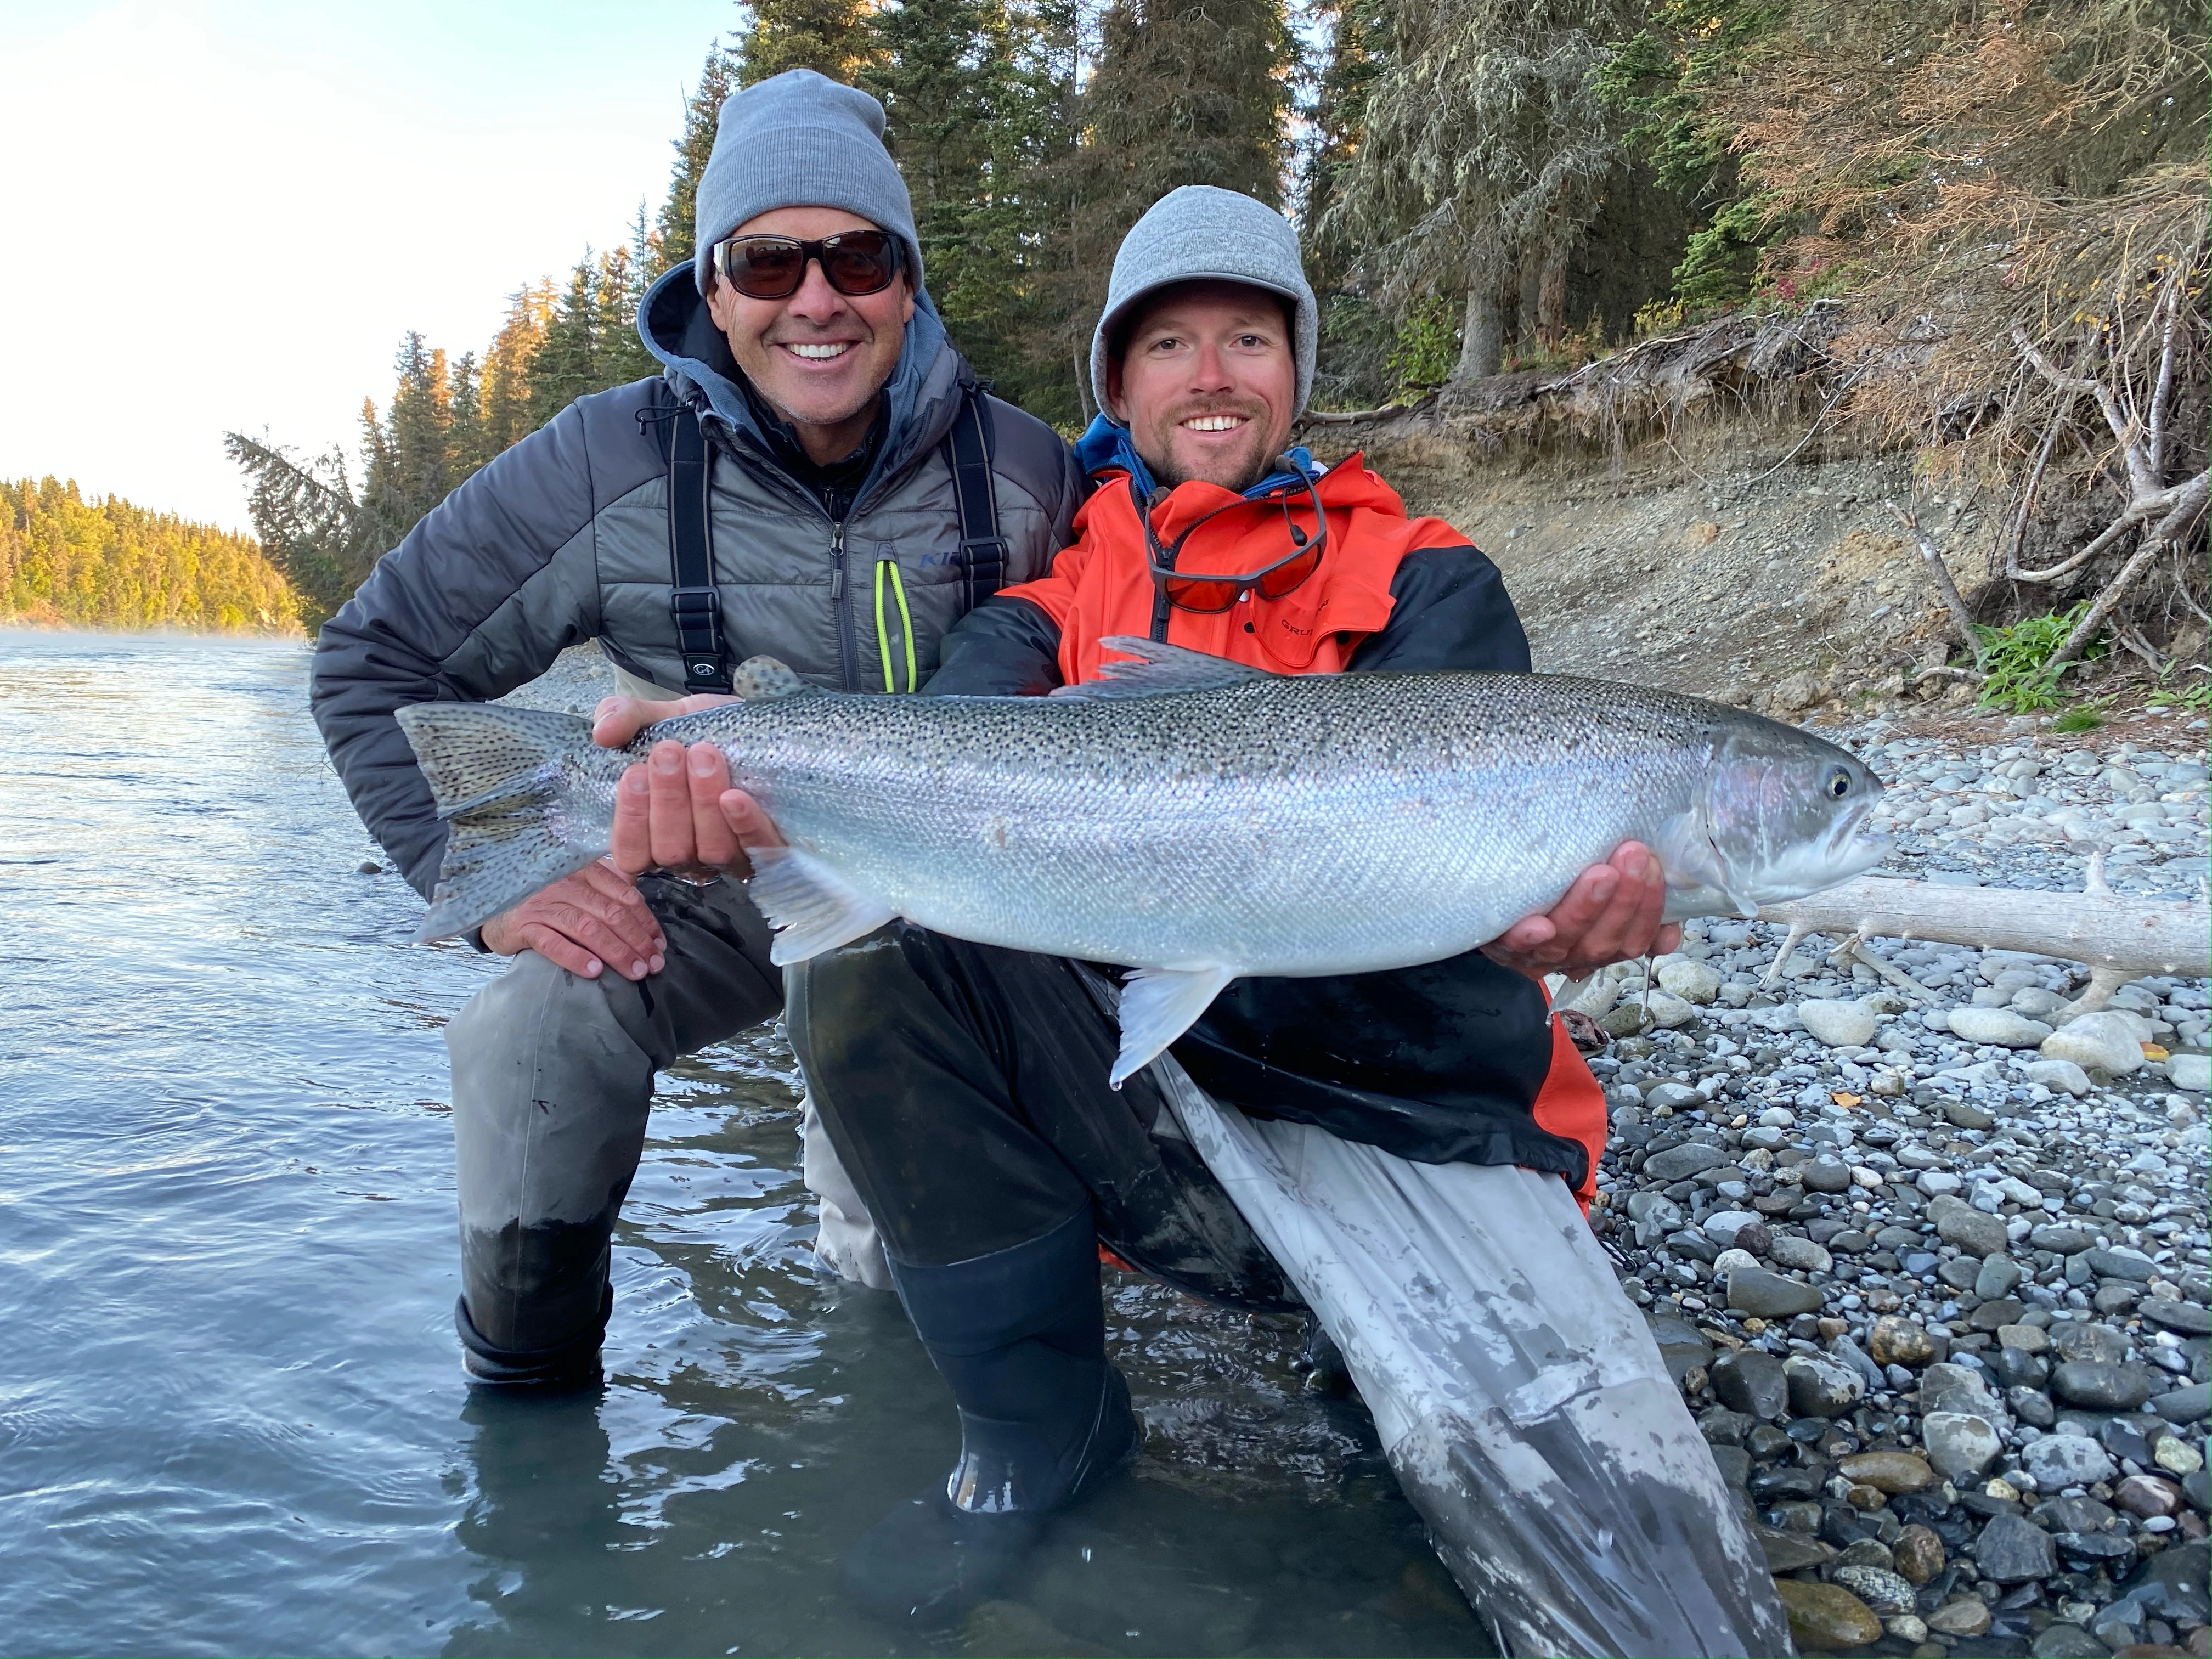
The Kenai Peninsula draws anglers from every corner of the world for one reason: the fishing here is genuinely, measurably extraordinary. Whether you're researching top 5 kenai river fishing spots for your first Alaska trip or your fifteenth, the key is understanding what makes this place different from every other fishing destination on the continent.
The Kenai River is fed by glacial meltwater that keeps temperatures cold through the summer, concentrating fish in predictable holding lies that local guides have mapped over decades. That insider knowledge is exactly what separates an elite guided experience from a day spent guessing.
The Alaska Experience Beyond the Fish
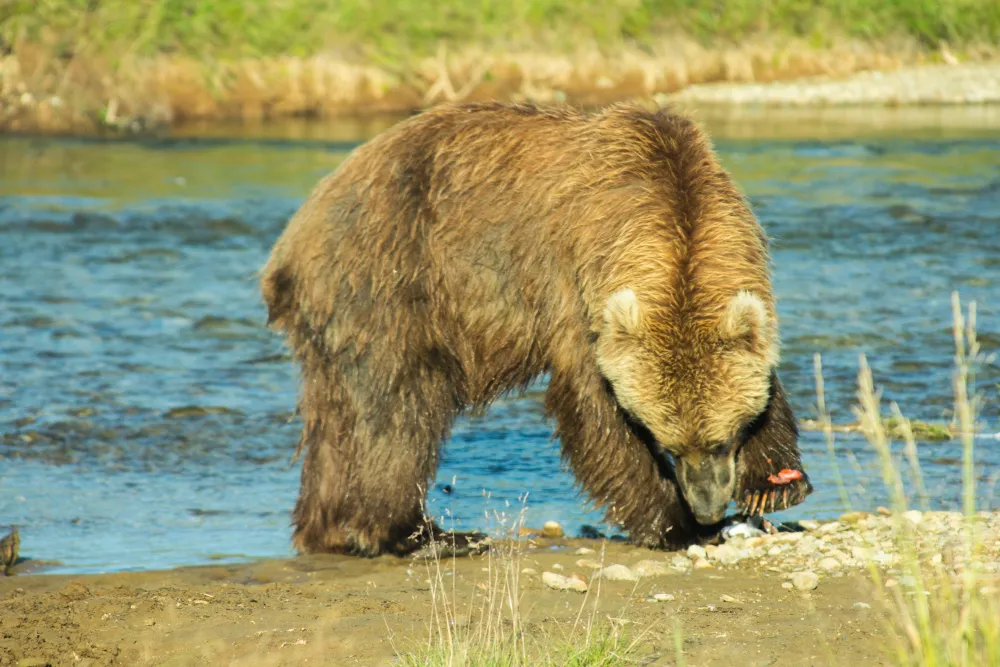
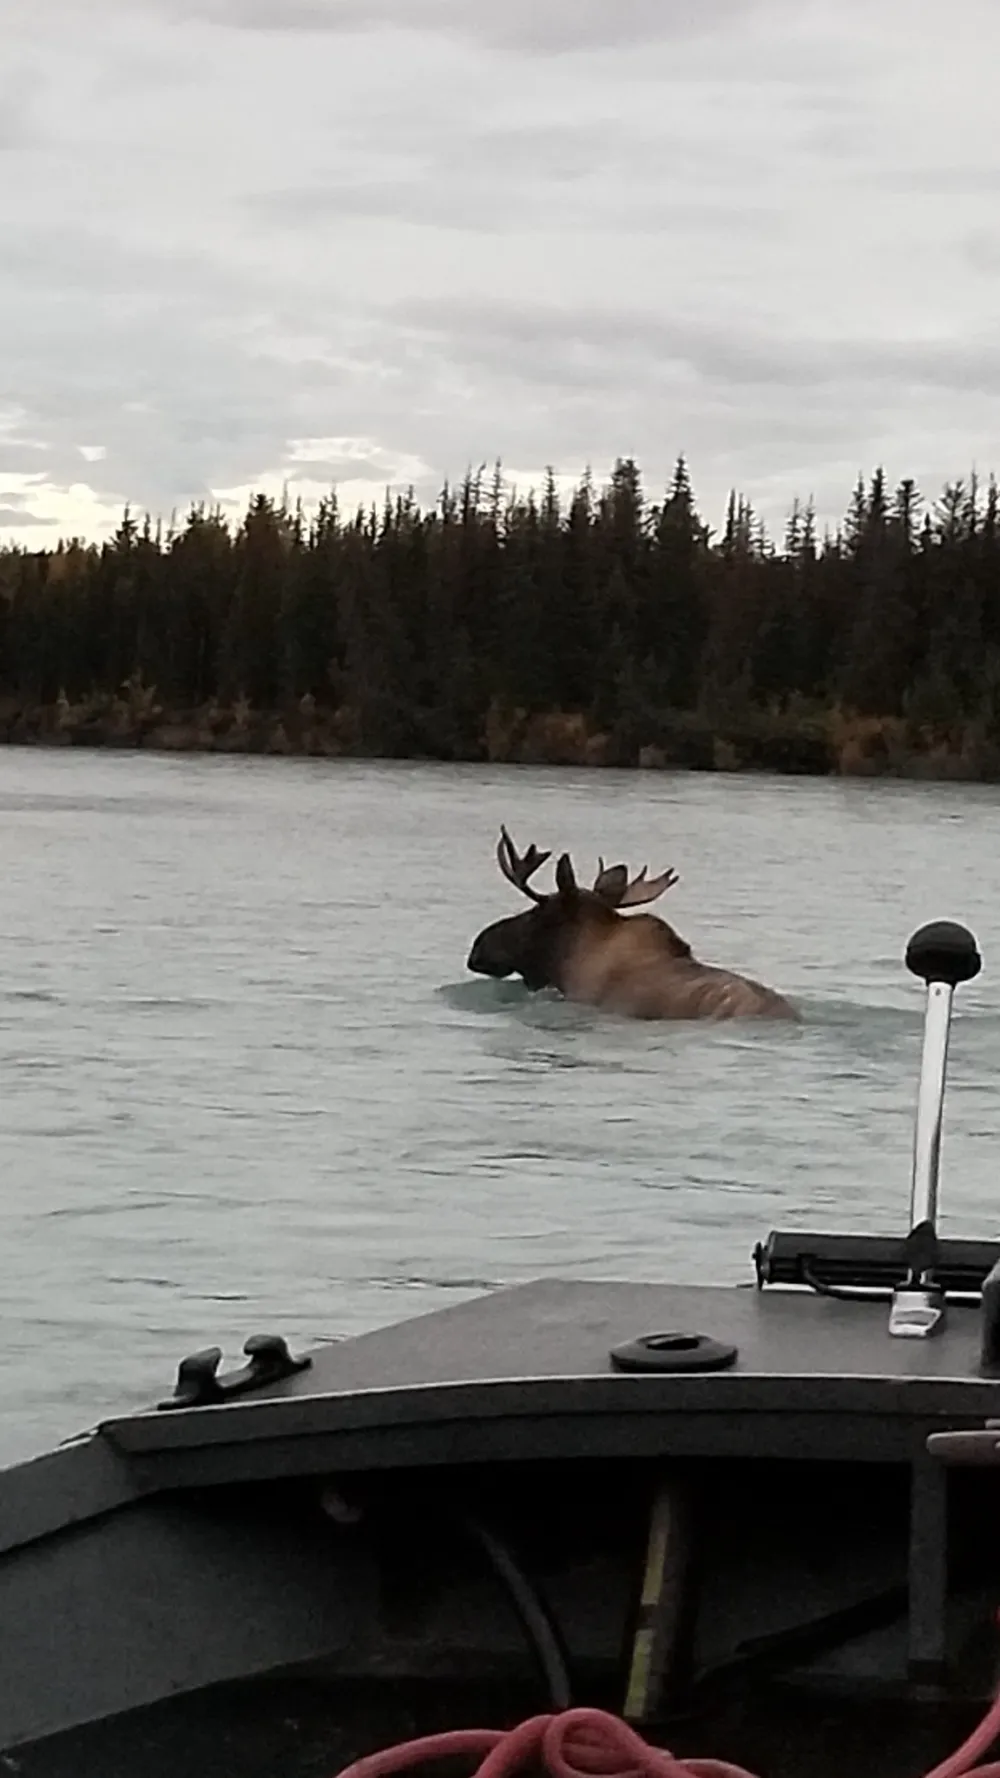
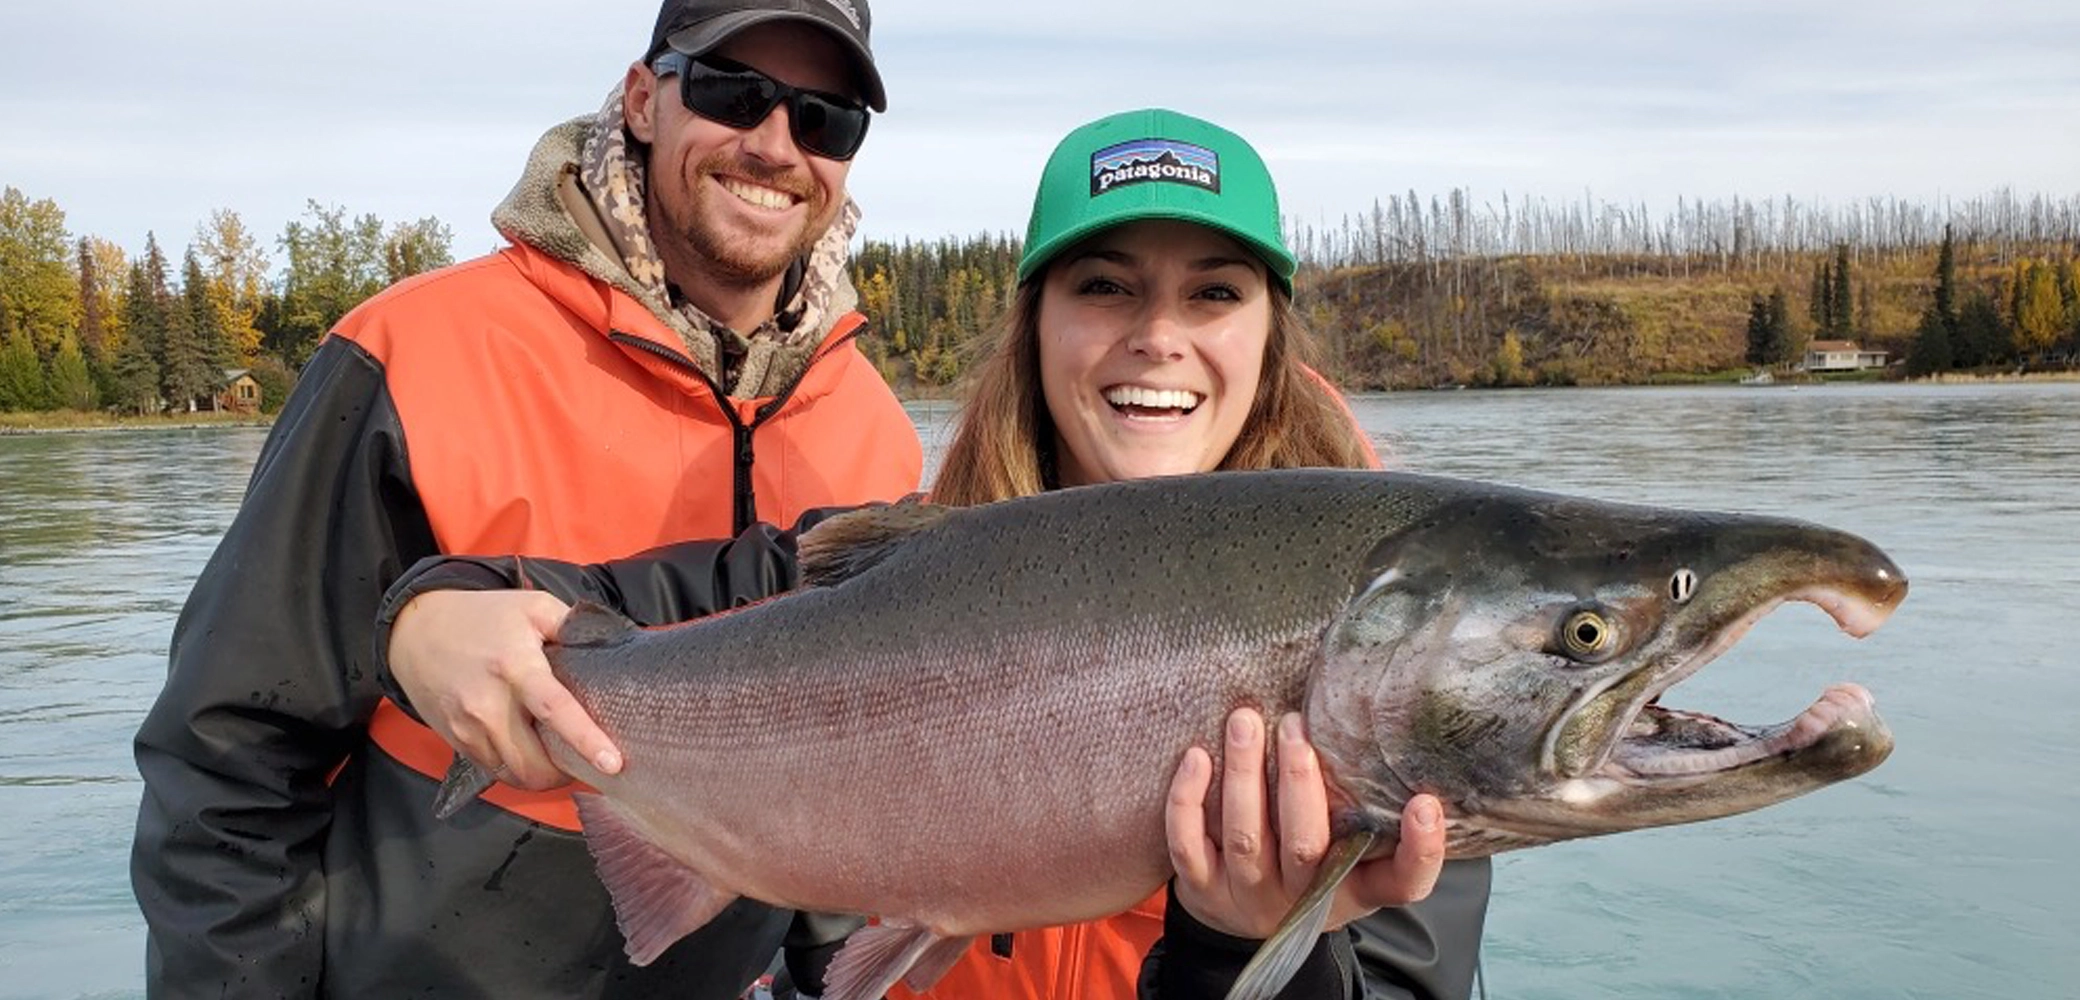
- Eagles, moose, and bears are common sightings from the boat — bring a camera
- The scenery alone is worth the trip — Kenai Mountains frame every bend
- Soldotna offers excellent lodging, dining, and fish processing services
- Many anglers combine a Kenai river trip with Homer halibut fishing for an epic dual-species adventure
For the guided portion of your trip, the team at KenaiFlyFish.com has been running premium operations on this river for over two decades. Their reputation is the best on the peninsula.